
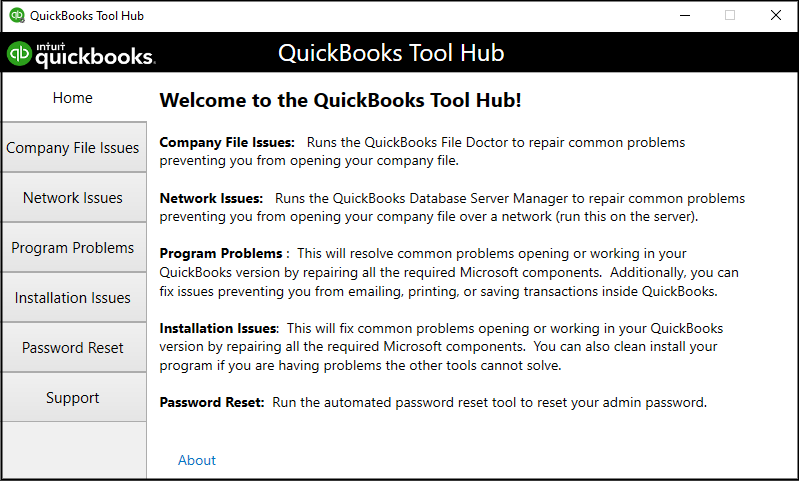
Have you ever thought about running a company file on multi-user access? QuickBooks Database Server Manager is such a great tool that shares your company file with other users over the network. In this article, you know about how to set up QuickBooks Database Server Manager, how to download, how to install, and how to use it.
What is QuickBooks Database Server Manager
QuickBooks Database Server Manager is an important useful feature developed by intuit. This tool works to share your files over the network with multi-users. QBDBSM is necessary if you want to use multiple versions of the QuickBooks Desktop. Without a Database Server Manager, you can not use this. This creates a Network data file (.*nd) for any company file which is stored on the host computer.
Functions Provided By The QBDBSM
Here we have mentioned some of the functions of the tool, that help you to use the company files in multi-user mode. have a look;
- This software makes a record of the people about their login to which company file.
- This provides help to the customer to know about the company file stored on the server.
- It helps to keep a record of those services which are running continuously. When the company file hosted by the server.
- With this tool, you can manipulate the status of some services. It is done by using the services Administrative tool and configuring the QBDS Manager.
- It also helps to manage the updates by clicking the update button in the “Update Section” and following the steps mentioned.
To Download QBDBS Manager
You can download the Server Manager tool, by using different 2 methods. We have given the bother procedure, choose one of the procedure, that suits for you;
Way 1: Download QuickBooks Desktop
To download the Database Server Manager is not a very difficult process. This tool is part of QuickBooks Desktop, if you do not have it, you can easily download this tool from the official website of Intuit. Or can download the QuickBooks Desktop with the full program.
Way 2: Download the Tool, Using Tool Hub
If you are not ok with option 1, go to option 2. This is an alternative method to download the Database Server Manager. Follow the steps given below:
After the process completes, then you give a user permission to access the company file. By default, QBDBMS creates a unique user for each installation.
To Install the Database Server Manager
- Start with downloading the QuickBooks Tools hub from the Intuit website.
- Move the download by pressing the Ctrl+J keys together.
- Then click on the QuickBooksToolshub.exe file.
- Click on ‘Yes’ to allow the app to make changes.
- To install it click on Next.
- Then click on ‘Yes’ to accept the license agreement.
- Click on ‘Next‘ to install (this process may take some time, so you have patients).
- After the install tool hub, Click on the finish.
- Now open the QuickBooks Tool Hub icon.
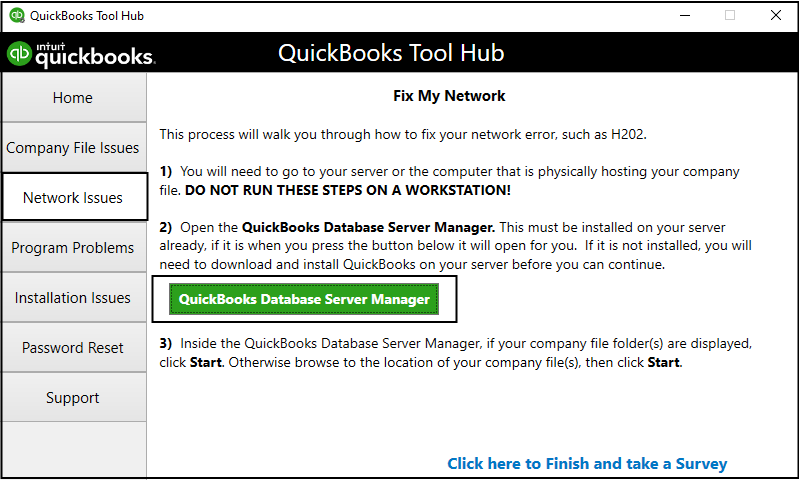
- Go to the Network issue tab.
After the complete download process, follow the steps to install the tool properly;
- Start with a search for QuickBooks installer on your host computer.
- Then open the installation wizard by double click on the QB installer.
- Your computer should be connected to the internet, then Download the QBDBSM update.
- Click on Next.
- If your host computer is not connected to the internet, select ‘No’.
- Then click on the ‘Next‘ option.
- To accept the ‘Software license agreement’ terms, click ‘accept’.
- Continue with ‘Next‘.
- Choose the installation type that you want to form the (Custom/Network option) menu.
- Choose any one of the options.
- “I will use using QuickBooks on the computer and use this PC to store my company files” if you want to use this Quickbooks program on your computer.
- OR choose the option “I will not be using QuickBooks on this computer” if you should decide to Only store on the computer.
- To allow access click on ‘Yes’
- Then enter the license and product number
- The installation is successful.
Other Useful Resources:
Download And Update Bank Transactions In QuickBooks
Set-Up & Run the QuickBooks Database Server
After the installation of Database Server Manager is ready to scan company files. now you can access your company files from the other system on the network. this will you let you know about the network work together in the QuickBooks Database from multiple systems. Follow these steps:-
To Open the Tool
- Start with closing your QuickBooks desktop.
- Then download the QuickBooks tools hub.
- Click on the downloaded file (QuickBooksToolHub.exe).
- Agree to the terms and conditions.
- After the installation, open the tool hub with a double click.
- Go on the network issue tab, click on QuickBooks Database Server Manager.
How to Scan Folder Using the Tool
Before sharing the file, you need to scan the folder having them at least one time.
- Go on the window start menu on the server system.
- Type the database into the search then open QuickBooks Database Server Manager.
- Go to the scan folder tab. If you make use of a database server manager 2019. Then this process shares all of the folders, you maybe want to set the folder permissions so that you only give access to a specific user.
- Select the browser option.
- Select the company files folder.
- Click on OK.
- Then select start scan.
To Add a Folder
- Add the folders tab,
- Then choose the folder, where it is to be used.
- The location of the folder under the folders contains the QuickBooks company file.
To Remove a Folder
- Click on the folder which has the QuickBooks company file.
- Then click on Remove folder.
Scan Folder Tab
After scanning the folder that you hold, then you can share your files.
- Click on the scan the folder tab, that folder is listed in the folder which has contained QuickBooks company files.
- After the scan, you will see the list of the company file found in the folder.
To Monitor Your Drives
After scanning folders, the drives that hold them show up in the monitored drives. then select the drives to monitor these folders. So this way, you will change or move the company file on the drives. Then, they won’t be required to rescan the folder.
- Go to the monitor drives tab.
- Then select the check box in the hard drive for that you hold your company files. You can hold your company file in one drive only.
Now you will change or move the company file on the drives. Then, they won’t be required to rescan the folder.
How to Manage Database Server Manager
Here are the other tabs in Database Server Manager that help everything run smoothly.
- The system tab is the location of where the database server manager is installed.
- The database server tab gives you the real-time status of the tools and the information connections.
Getting System Features Details
- Open the Start menu.
- Click on Programs.
- Click on QuickBooks and then “QuickBooks Database Server Manager”.
- Select system, Now you can review your system information.
Configure the Server Manager
If you don’t want to use a default setting, then don’t skip these steps:-
- Click on the ‘Start’ menu from the taskbar.
- Search ‘Services’ in the search bar, and open it.
- Choose, and open the QuickBooksDB_ _ (_ _ means the number of versions).
- Visit the ‘General’ tab, and check the service status section.
- If the service status is running or started then stop it.
- Go to the ‘Startup Type’ menu, select the ‘Automatic’ option.
- Choose the ‘Local System Account’ option from the ‘Logon’ tab.
- Click on the ‘Restart the Service’ option from the ‘Recovery’ tab.
- Run the service for all the failures.
- Again go back to the ‘General’ tab, and click on the ‘Start button‘ to restart the Database Server Manager.
Set Up the Firewall Permissions
Set up the firewall and antivirus permission settings, and ensure that it permits running the server on the system.
Monitoring Drives
In this, you can add those drives you want to be monitored. This monitoring service ensures that every user can easily access the company file from the drive where it is stored.
If you want to check the status of the monitoring service, Open the “Monitored drives” section.
By using this function we can easily keep our QBDS manager updated. This function is useful when the new files are added to the server. To do this do the following steps:
- Click on the “Start” menu, select QuickBooks and then select QuickBooks Database Server Manager.
- Select “Monitored Drives”.
- Select any drive in which receives all the new company files. And this is the place at which all the updated files, deleted files, create files, and the modified files will store in the selected drive.
We cannot monitor or view those drives which are mapping.
When we manage data, performing tasks, some issues form at that time in the QBDS manager. Solutions for the most common issues faced by the users are:
That’s all about the QuickBooks Database Server Manager. Hope you find it helpful, and informative, and now you have the idea to use it properly. Still, if you have any problem related to this topic then you can get our QuickBooks support from the QuickBooks ProAdvisor for a detailed, and effective solution.